Create Transaction:
Create Transaction for Kafka with JSON Data Format
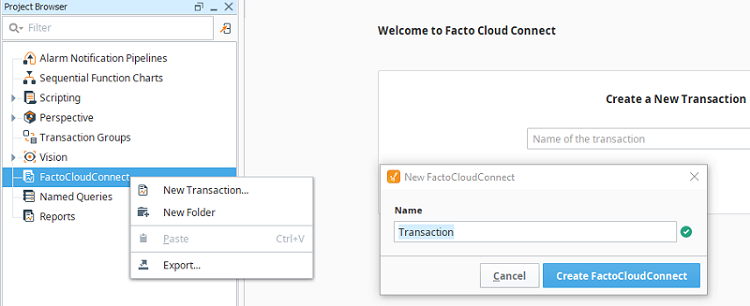
- Right Click on ‘FactoCloudConnect’
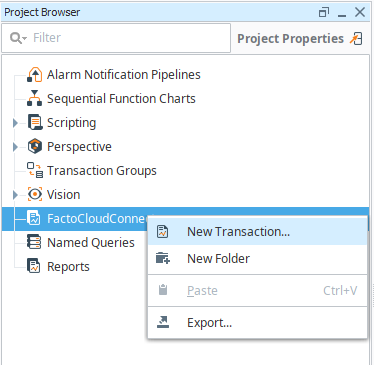
- Create ‘New Transaction’. Enter Transaction name and click on ‘Create Transaction’ button
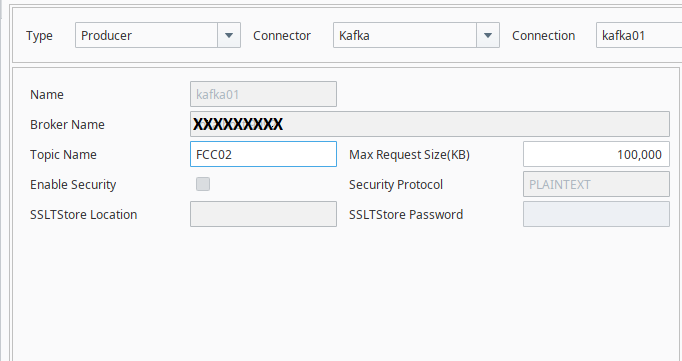
- Specify values for Connector Type’, ‘Connector’, ‘Connection’, and type TopicName. In the Config section select ‘Data Format’. Now click on the ‘Submit’ button
Tag Browser
- In Tag Browser, select ‘FactCloudConnect’.
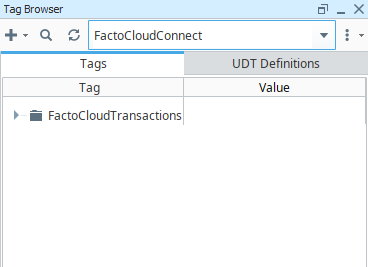
- Create tags inside the ProducerTag folder and Expand the Producer tag folder then see tags (See below screen)

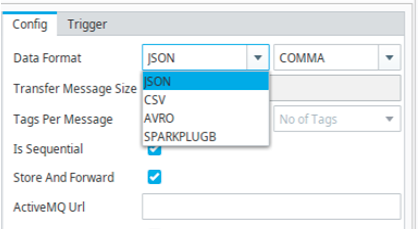
Config
- Use data format which is available in “Data Format” dropdown (i.e JSON, CSV, AVRO, and SPARKPLUGB) also choose separator (i.e COMMA, NEXTLINECHAR, SEMICOLON, and SPACE)
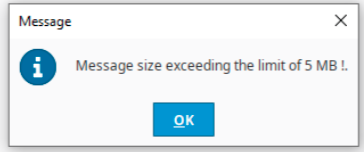
We can add 63000 tags in only ‘SPARKPLUGB’ data format and in case the user enters tags greater than 63000 (i.e Message size is >= 5MB) then the system display message popup as below:

And If Split requires then use the “Tag per Message” value (For Ex- In Producer tags have 1,00,000 tags and Tag per Message is 10,000 then it sends the message in 10 batches)
- STORE_AND_FORWARD: “If this box is checked, the unsent data will be stored in jms in case of connection loss”
- IS_SEQUENCIAL: Checking this box ensures that when a connection is restored, the data stored earlier through “STORE_AND_FORWARD” is processed first before any new message is queued.
- ACTIVEMQURL : “URL of External ActiveMQ Server”
Triggers
Triggers allow the users to dynamically push data either by using them, timer feature or on tag change:
There are four available trigger types:
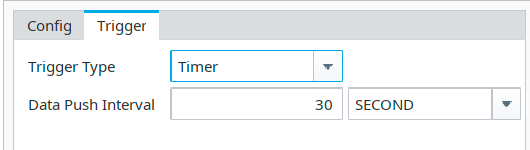
- Timer: This is used to push data periodically at specific time intervals.

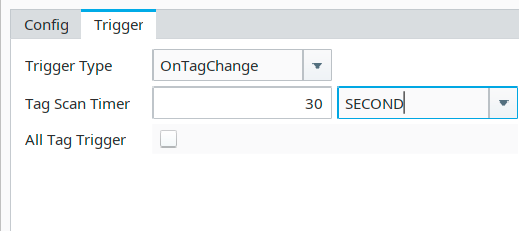
- OnTagChange: This trigger is configured to push data whenever the value of a tag changes. It can be configured for pre-specified tags at the following path(if AllTagTrigger is true then it read the tags from ProducerTag Folder else read tags from TriggerTag Folder): Transaction_Name/ ProducerTags/…
OR Transaction_Name/ TriggerTags/…
Note : In OnTagChangeAndTimer And OnTagValueChange,Data Push Interval is always greater than Tag Scan Timer.
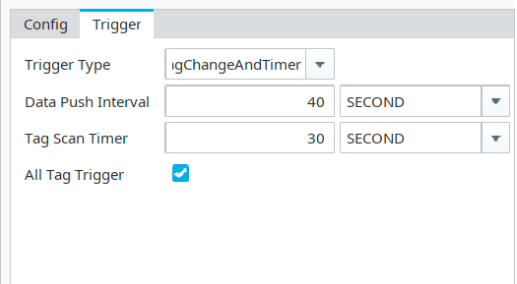
- OnTagChangeAndTimer: This is a combination of the above two. As the name specifies, it can be configured to send data whenever a tag value changes AND also periodically as per the specified timer.
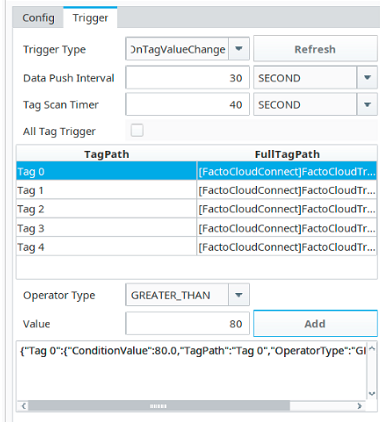
- OnTagValueChange: Like OnTagChange, this allows a user to send data on certain conditions specified by the user. However, here multiple conditions can be added to multiple tags created under the path Transaction_Name/ TriggerTags/…
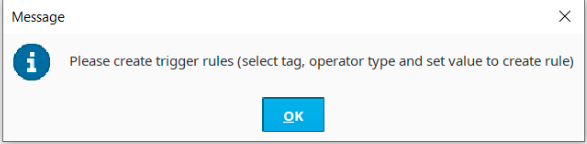
if the user has not selected ‘all tag trigger’ checkbox also does not set any trigger rules and click on submit button then the system displays the below popup message
After the user clicks on “Add” button
Start Transaction
- Clicking on the ‘Start’ button will display a popup window with “Transaction Started successfully” text with the “OK” button
![]()
- “Running” Notification at the bottom indicates that the transaction is in progress.
Stop Transaction

Clicking on the ‘Stop’ button will display a popup window with “Transaction Stopped successfully” text with the “OK” button
![]()
Delete Transaction
Deleting a transaction is a two-step process:
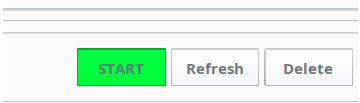
- Step 1: Click on the Delete button. This will delete the configuration saved for this transaction and the tag structure associated with it in the tag browser
![]()
- Step 2: Right-click on that transaction node in Project Browser Tree under FactoCloudConnect and select the delete option to remove that node